Command & Conquer Generals: Zero Hour, the thrilling RTS that redefined modern warfare, isn’t just about powerful generals and devastating superweapons. It’s also about the battlefields where these clashes of titans unfold. The right map can make or break a match, influencing strategies, alliances, and ultimately, victory.
Whether you’re a seasoned veteran or a fresh recruit, choosing the perfect map for your Zero Hour battles is crucial. Some maps favor aggressive blitzkriegs, while others demand cunning defensive tactics. Understanding the nuances of each map, from chokepoints to resource distribution, is key to outmaneuvering your opponents and claiming victory.
Unveiling the Top Zero Hour Maps for Epic Battles
Ready to dive into the heart of the action? Here’s a look at some of the most popular and strategically diverse maps in C&C Generals Zero Hour, each offering unique challenges and opportunities for glorious conquest:
1. Tournament Tower: The Ultimate Test of Skill
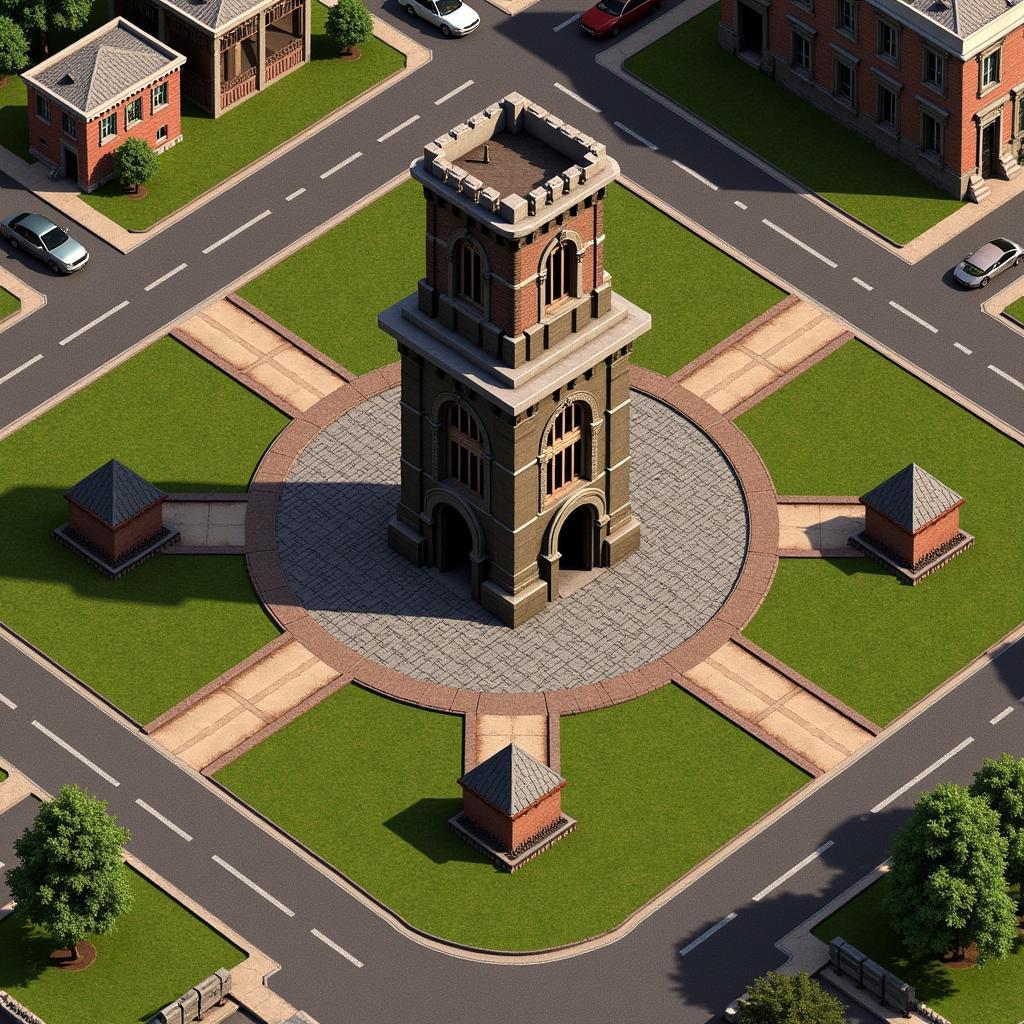 C&C Generals Zero Hour Tournament Tower Map
A true classic, Tournament Tower is a balanced map designed for intense 1v1 or 2v2 showdowns. The map features a symmetrical layout with a large, multi-level tower at its center. Players start in opposite corners with ample resources and space to build up their forces. Tournament Tower encourages a mix of aggressive and defensive strategies. Controlling the central tower provides a significant advantage, offering a commanding view of the battlefield and powerful defensive positions.
Expert Insight:
“Tournament Tower is a timeless classic for a reason. It’s all about resource management, map awareness, and timing your attacks perfectly. Mastering this map is a rite of passage for any serious Zero Hour player.” – General Marcus “Tactician” Jones, Competitive RTS Player
2. Bridge Too Far: Where Control is Key
As the name suggests, Bridge Too Far centers around a strategically vital bridge connecting two landmasses. This chokepoint becomes a focal point for intense battles, demanding players to balance offensive pushes with a strong defensive presence. Flanking maneuvers and air superiority can be crucial to breaking through enemy lines and securing the bridge.
3. Gulf of Oman: Naval Warfare Takes Center Stage
For those who prefer to rule the waves, Gulf of Oman offers a unique challenge. This map features a large body of water in the center, making naval units essential for controlling the map and launching attacks. Oil derricks scattered across the water provide valuable resources, leading to frequent skirmishes for economic dominance. Amphibious assaults and air strikes are key to outmaneuvering opponents and securing victory on the high seas.
Choosing Your Battlefield: Factors to Consider
While these are just a few examples, the vast array of maps in Zero Hour ensures there’s a perfect battlefield for every playstyle. When selecting a map, consider these factors:
- Playstyle: Do you prefer aggressive rushes, defensive turtling, or a balanced approach?
- Faction Strengths: Certain maps favor specific factions and their unique units or abilities.
- Number of Players: Maps play differently depending on the number of players and teams involved.
Experiment with different maps and discover which ones best suit your strategic preferences.
Conclusion: Mastering Zero Hour’s Battlegrounds
So, choose your maps wisely, deploy your forces strategically, and prepare to conquer in the world of Zero Hour!