Painting rounded corners can be a deceptively tricky task, often resulting in uneven edges or a less-than-professional finish. Whether you’re refreshing your living room, adding a pop of color to furniture, or tackling a detailed DIY project, achieving those perfectly curved lines requires a keen eye and the right techniques. This comprehensive guide will equip you with the knowledge and step-by-step instructions to confidently paint rounded corners like a pro.
Understanding the Challenges of Rounded Corners
Unlike straight lines, which offer a clear path for your brush, rounded corners demand a more nuanced approach. The curved surface can lead to uneven paint distribution, visible brushstrokes, and a lack of crispness.
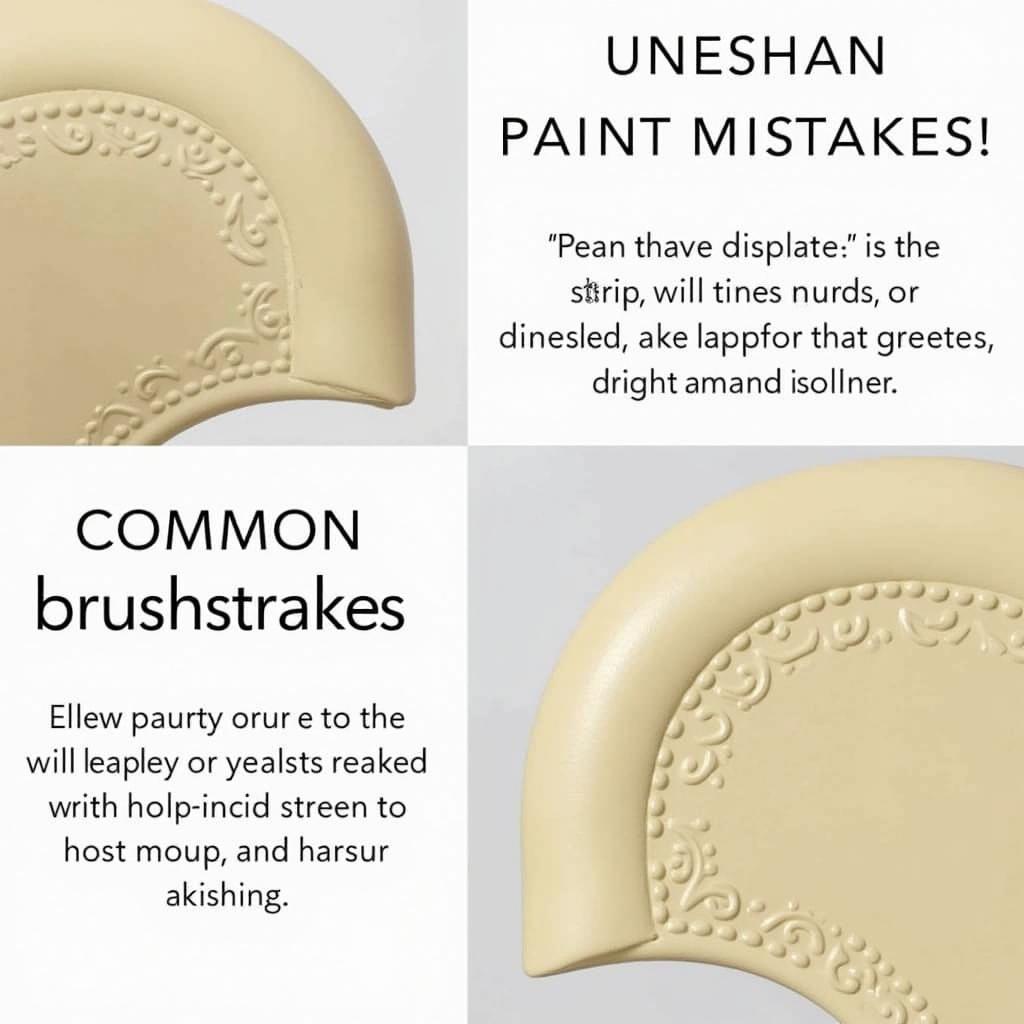 common-painting-mistakes-on-rounded-corners
Essential Tools for a Flawless Finish
Before embarking on your painting project, gather the following tools to ensure a smooth and professional outcome:
- Angled sash brush: This brush type, with its slanted bristles, offers superior control and precision for navigating curves.
- Small roller: Ideal for covering larger rounded surfaces quickly and evenly.
- Painter’s tape: Use high-quality tape designed for delicate surfaces to protect adjacent areas and achieve clean lines.
- Drop cloths: Protect your flooring and furniture from accidental spills and splatters.
- Paint thinner: Choose the appropriate thinner for your paint type (water for latex, mineral spirits for oil-based) for cleaning brushes and correcting mistakes.
Step-by-Step Guide to Painting Rounded Corners Like a Pro
Follow these detailed steps to conquer those curves and achieve a flawless finish:
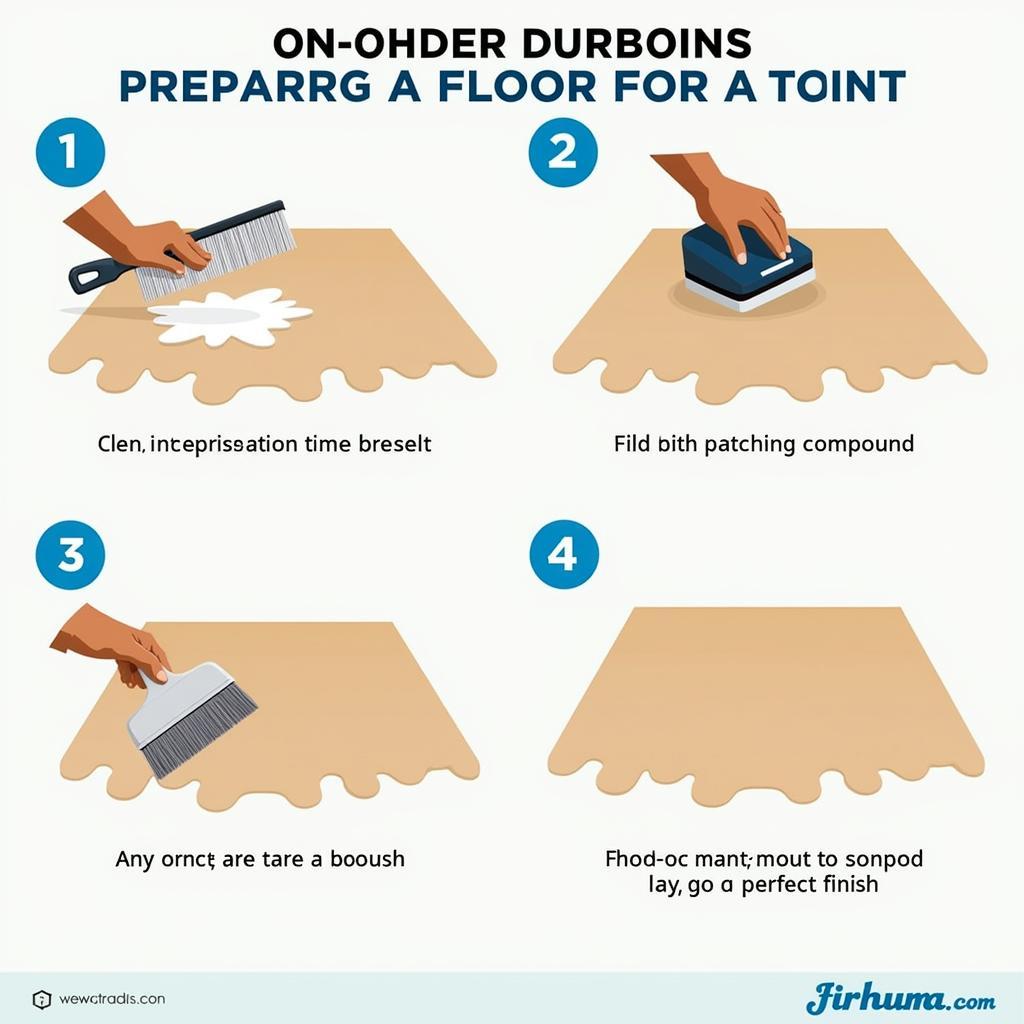
- Preparation is Key: Clean the surface thoroughly to remove dust, grime, or loose paint. This step ensures proper paint adhesion. Allow the surface to dry completely before proceeding.
- Protect with Precision: Apply painter’s tape carefully along the edges of the rounded corner, ensuring a smooth and even line. Press down firmly to prevent bleeding.
- Load Your Brush Lightly: Dip your angled sash brush into the paint, ensuring that only the first third of the bristles are covered. This prevents overloading the brush and minimizes dripping.
- Start with Short Strokes: Begin at the edge of the tape, using short, controlled strokes to apply paint to the rounded corner. Follow the curve of the surface, gradually blending the paint inwards.
- Maintain a Wet Edge: Work in small sections, maintaining a wet edge to prevent lap marks and ensure an even finish. Avoid going back over already drying paint.
- Utilize the “Tipping” Technique: Lightly run the tip of your brush over the painted surface to smooth out any brushstrokes and create a uniform appearance.
- Remove Tape at the Right Time: Wait for the paint to become slightly tacky (not completely dry), then carefully remove the painter’s tape at a 45-degree angle. This prevents peeling and ensures a clean line.
- Second Coat Strategy: Allow the first coat to dry completely before applying a second coat using the same technique.
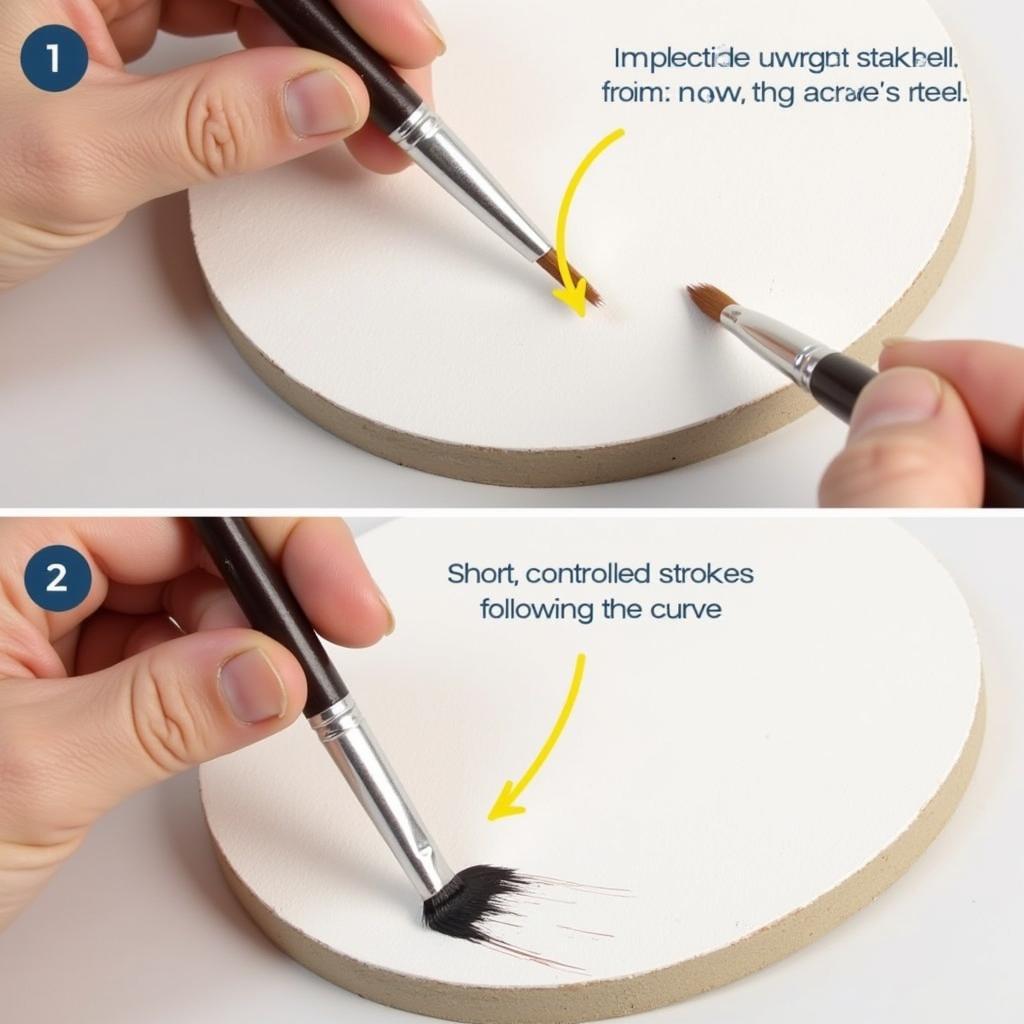 using-an-angled-brush-to-paint-rounded-corner
Pro Tips for Achieving a Professional Finish
- Practice makes perfect: If you’re new to painting rounded corners, practice your technique on a scrap piece of cardboard or wood before tackling your actual project.
- Thin coats are key: Applying multiple thin coats of paint provides a smoother and more durable finish compared to one thick coat.
- Don’t overwork the paint: Excessive brushing can lead to visible brushstrokes and an uneven appearance. Apply the paint evenly and let it level itself out.
- Clean your brushes regularly: Throughout the painting process, take the time to clean your brushes with the appropriate thinner to prevent paint buildup and maintain their shape.
Troubleshooting Common Rounded Corner Painting Issues
Problem: Paint bleeding under the tape.
Solution: Ensure the painter’s tape is firmly pressed down along the edges and use high-quality tape designed for delicate surfaces.
Problem: Visible brushstrokes on the curved surface.
Solution: Use an angled sash brush, apply thin coats of paint, and employ the “tipping” technique to smooth out brushstrokes.
Problem: Uneven paint distribution.
Solution: Load your brush lightly, work in small sections, and maintain a wet edge to ensure an even finish.
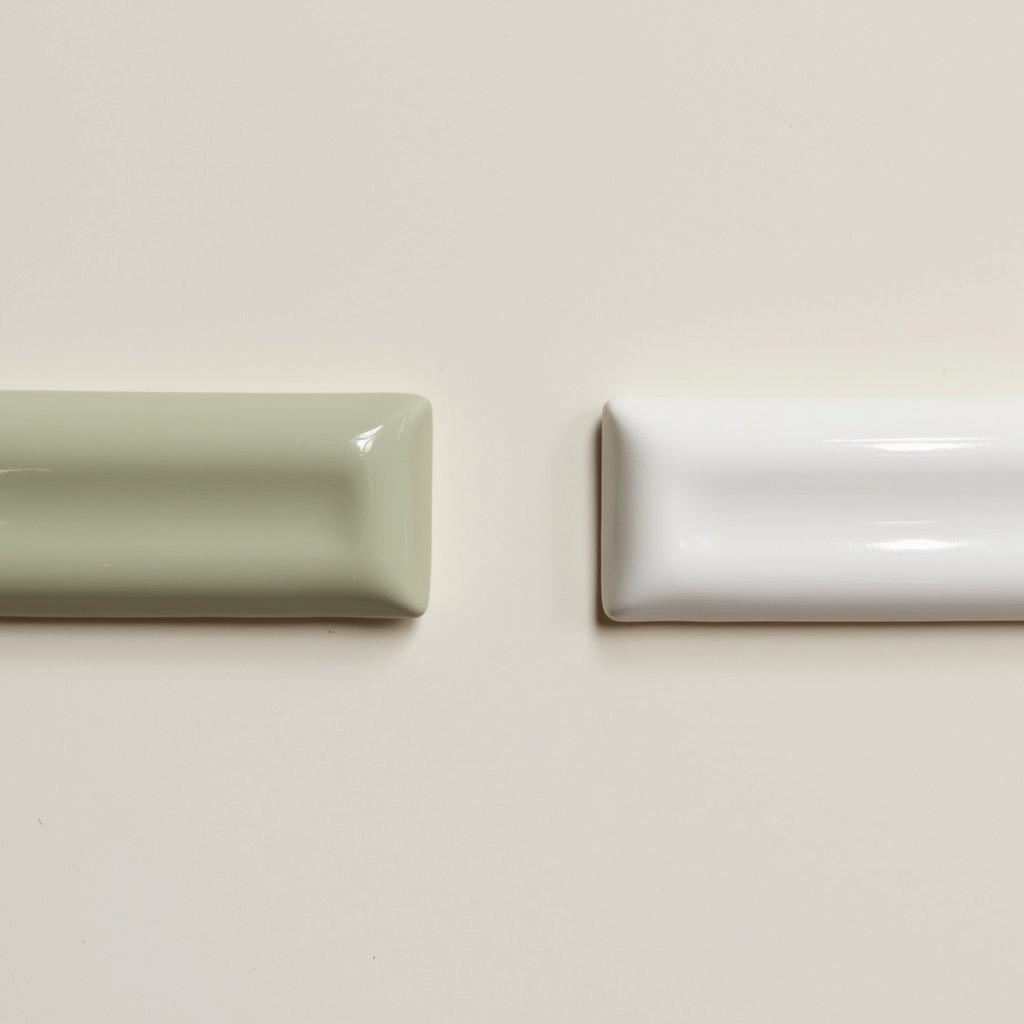 comparing-glossy-and-matte-paint-on-rounded-corners
Conclusion
Mastering the art of painting rounded corners is an achievable feat with the right tools, techniques, and patience. By following the step-by-step guide and implementing the pro tips outlined in this article, you can confidently tackle any project involving curves and achieve a professional-looking finish that elevates your home decor or DIY creations.
Need assistance with your next painting project? Our team of experts at VNG Game is just a call away. Reach us at 0902476650 or email us at [email protected]. We’re available 24/7 to provide guidance and support. You can also visit us at our office located at 139 Đ. Võ Văn Kiệt, Hoà Long, Bà Rịa, Bà Rịa – Vũng Tàu, Việt Nam.

