Hot Wheels Body Kits offer an incredible opportunity to transform your miniature vehicles into unique and eye-catching creations. Whether you’re a seasoned collector or just starting out, the world of custom Hot Wheels is full of exciting possibilities.
Understanding Hot Wheels Body Kits
Before diving into the customization process, it’s important to understand what Hot Wheels body kits are and what they offer. Essentially, these kits provide a set of components designed to modify the appearance of your existing Hot Wheels cars. They often include parts like:
- Body Shells: These replace the original car body, allowing you to completely change the vehicle’s look.
- Spoilers and Wings: Adding aerodynamic elements can give your Hot Wheels a sportier or more aggressive appearance.
- Bumpers and Side Skirts: These pieces enhance the car’s profile and can be customized with unique designs.
- Wheels and Tires: Swapping out the standard wheels for different styles and sizes dramatically impacts the overall aesthetic.
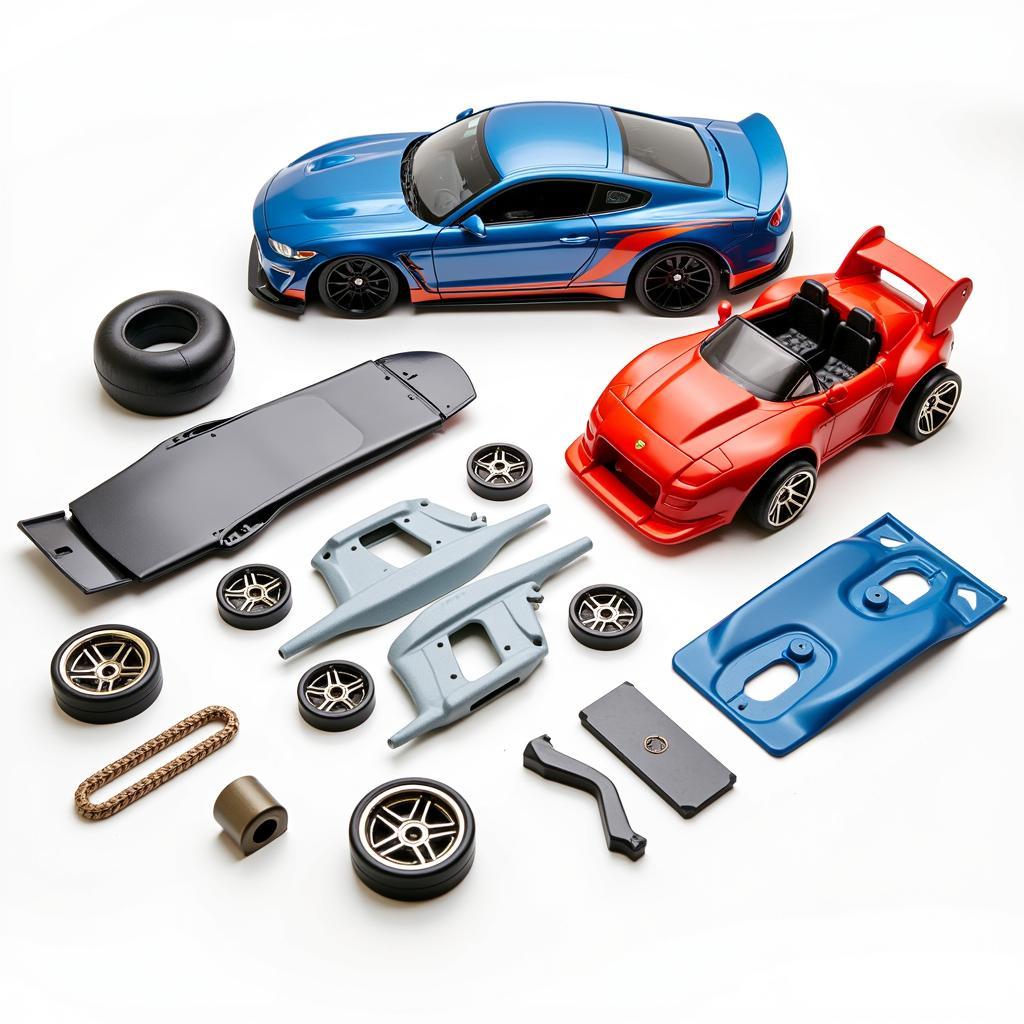 Hot Wheels Body Kit Components
Choosing the Right Body Kit
With a wide array of Hot Wheels body kits available, selecting the perfect one can seem daunting. Here are some key factors to consider:
- Personal Preference: Ultimately, the best body kit is the one that you find most appealing.
- Vehicle Compatibility: Ensure the kit is designed for the specific Hot Wheels model you want to customize.
- Skill Level: Some kits are more complex than others. Choose one that aligns with your experience level.
- Budget: Body kits range in price. Set a budget beforehand to narrow your options.
Essential Tools for Customization
To successfully customize your Hot Wheels with body kits, you’ll need a few essential tools:
- Precision Screwdrivers: These are crucial for disassembling and reassembling your Hot Wheels.
- Hobby Knife: A sharp hobby knife helps with trimming excess plastic and making precise cuts.
- Sandpaper: Use fine-grit sandpaper to smooth out rough edges and prepare surfaces for painting.
- Plastic Cement: This specialized glue bonds plastic parts together securely.
- Paint: Acrylic paints work well for customizing Hot Wheels, offering a wide range of colors and finishes.
Customizing Your Hot Wheels: A Step-by-Step Guide
Once you have your body kit and tools ready, follow these steps to customize your Hot Wheels:
- Disassemble: Carefully take apart your chosen Hot Wheels car, separating the body from the chassis.
- Prepare the Body: Clean the body shell thoroughly to remove any dirt or residue. If necessary, sand down any imperfections.
- Paint: Apply primer to the body shell (optional but recommended). Once dry, add your desired paint colors and designs.
- Assemble the Body Kit: Following the kit’s instructions, attach the new body parts to the car shell.
- Add Details: Enhance your creation with decals, custom paintwork, or even miniature accessories.
- Reassemble: Carefully put your customized Hot Wheels car back together.
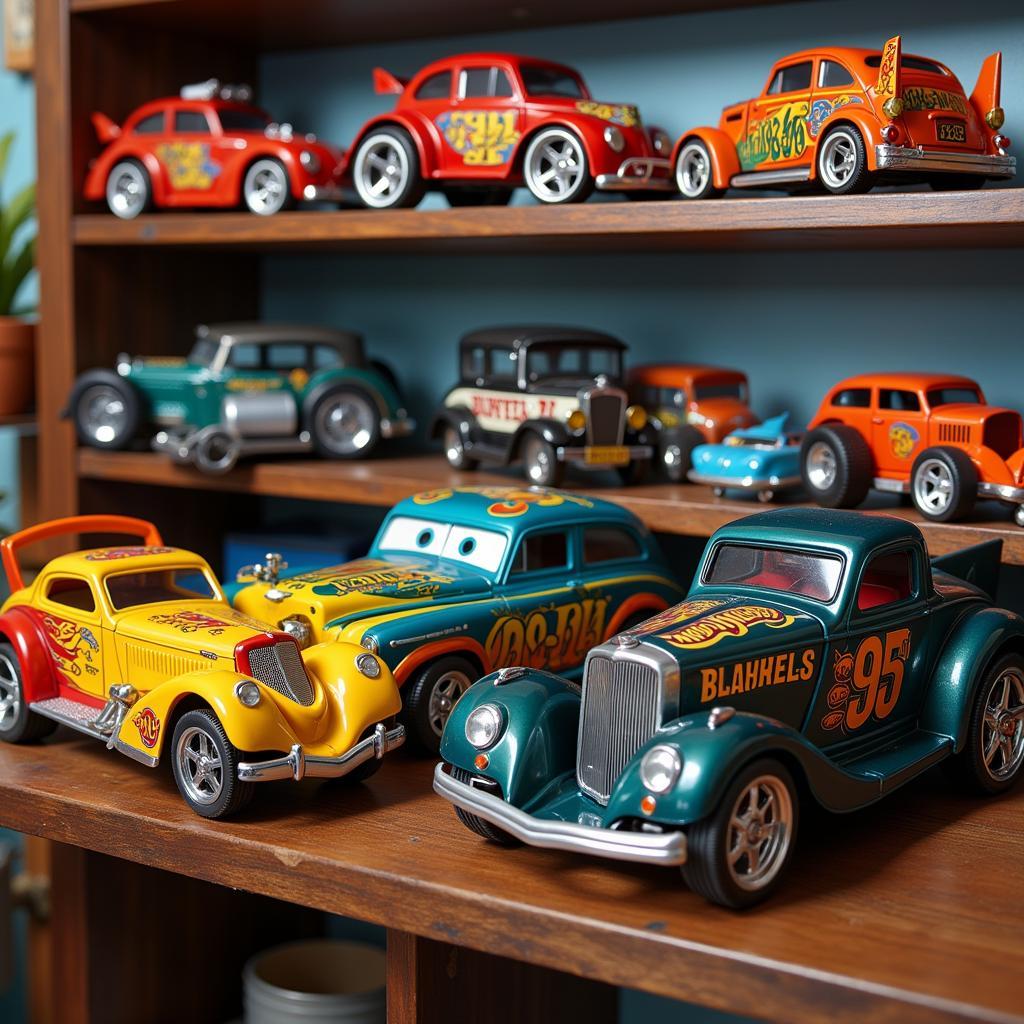 Customized Hot Wheels Display
Tips for Success
- Start Simple: If you’re new to customizing, begin with a basic body kit and gradually work your way up to more complex projects.
- Be Patient: Customizing Hot Wheels takes time and precision. Don’t rush the process.
- Practice Makes Perfect: Don’t be afraid to experiment and try new techniques.
- Join the Community: Connect with fellow Hot Wheels enthusiasts online or in person for inspiration and advice.
Conclusion
Hot Wheels body kits open up a world of creative possibilities, allowing you to turn ordinary miniature cars into extraordinary custom creations. By following these tips and unleashing your imagination, you can build a collection of unique Hot Wheels that reflects your personal style and passion for these iconic toys.