The Hockey Grid, often referred to as the neutral zone, is a crucial area on the ice that separates the offensive and defensive zones. This strategically important space plays a pivotal role in dictating the flow of the game. Understanding its significance and how it impacts gameplay is key for both players and avid fans of the sport.
The Anatomy of the Hockey Grid
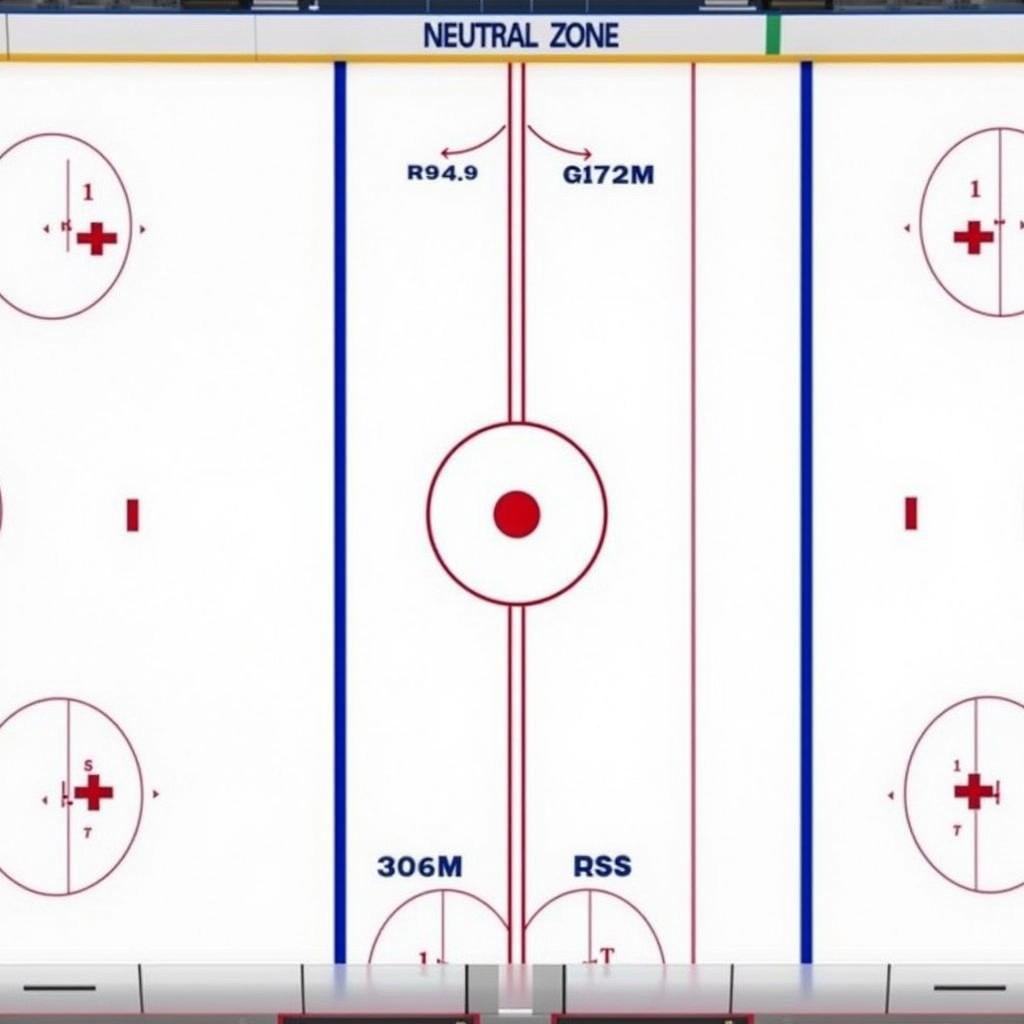 Diagram of a Hockey Grid
The hockey grid is defined by two blue lines that run parallel to the center red line. These blue lines divide the rink into three zones: the offensive zone, the defensive zone, and the neutral zone, which we know as the hockey grid.
Why is the Hockey Grid So Important?
The hockey grid isn’t just an empty space on the ice. It serves as a battleground where teams fight for puck possession and transition between offense and defense.
Here’s why the hockey grid is so critical:
- Transition Zone: Teams use the grid to transition from defense to offense and vice versa. A successful breakout from the defensive zone often starts with a controlled exit through the neutral zone.
- Offensive Opportunities: The grid presents opportunities for creating offensive plays. Dumping and chasing the puck into the offensive zone often originates from the neutral zone.
- Defensive Stand: The grid is the first line of defense against an attacking team. Teams aim to disrupt their opponent’s attack in the neutral zone, forcing turnovers and creating counter-attacking opportunities.
Strategies and Tactics in the Hockey Grid
Understanding how to effectively utilize the hockey grid can make or break a team’s success. Here are some common strategies:
- The Neutral Zone Trap: This defensive strategy focuses on clogging up the neutral zone, making it difficult for the opposing team to enter the offensive zone with possession.
- Dump and Chase: An offensive tactic where a player shoots the puck into the offensive zone from the neutral zone and then chases after it, hoping to retrieve it and generate a scoring chance.
- Regrouping: Teams use the grid to regroup and reorganize after an offensive or defensive sequence. This allows players to catch their breath and prepare for the next play.
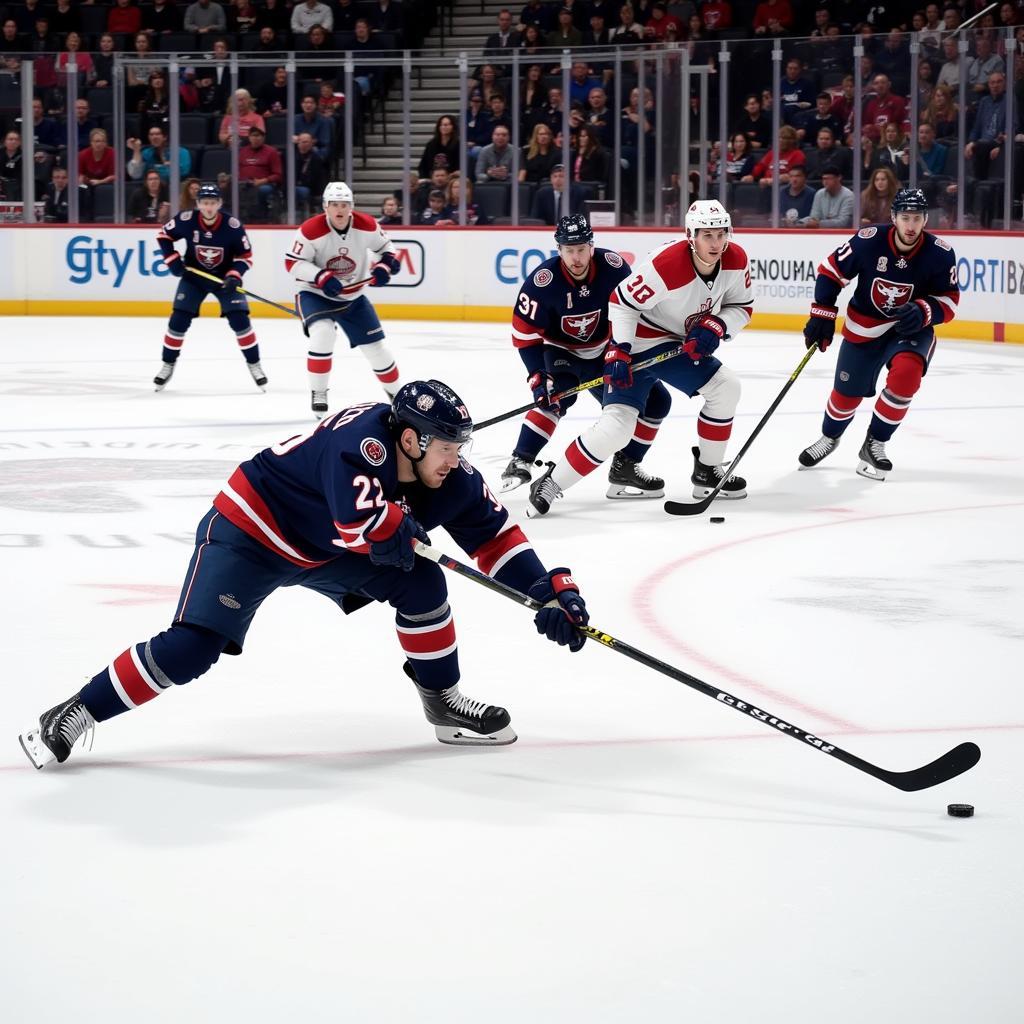 Hockey Players Competing for the Puck in the Neutral Zone
Penalties and the Hockey Grid
Several penalties are directly related to play within the neutral zone, highlighting its importance in maintaining a fair and controlled game:
- Offside: If an attacking player precedes the puck across the blue line into the offensive zone, they are called offside. This rule prevents teams from cherry-picking players near the opponent’s net.
- Icing: Icing occurs when a player shoots the puck from behind the center red line across their opponent’s goal line without it being touched. This rule prevents teams from simply shooting the puck down the ice to relieve pressure.
Mastering the Grid: A Sign of a Strong Team
A team’s ability to control the hockey grid often reflects their overall strength and strategic prowess. Teams that excel in the neutral zone tend to dictate the pace of the game, create more scoring chances, and limit their opponent’s opportunities.
Understanding the nuances of the hockey grid – its boundaries, its strategic significance, and the tactics employed within its confines – provides a deeper appreciation for the complexities and excitement of this dynamic sport.