Painting a room can dramatically transform its look and feel, but achieving a clean and professional finish around rounded corners can be tricky. These curved architectural details, while beautiful, often pose a challenge for even seasoned DIY enthusiasts. But don’t fret! Mastering the art of painting walls with rounded corners is achievable with the right tools, techniques, and a splash of patience.
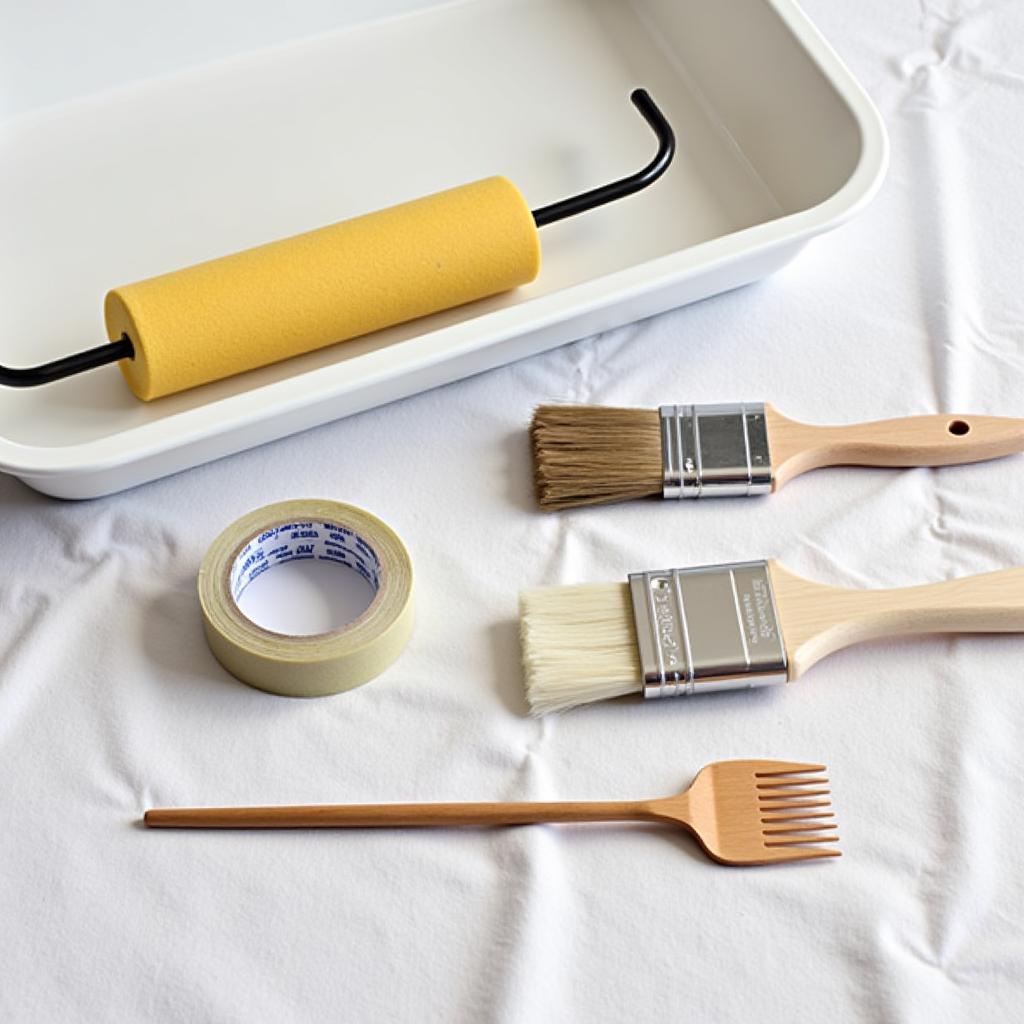 Essential Painting Supplies for Rounded Corners
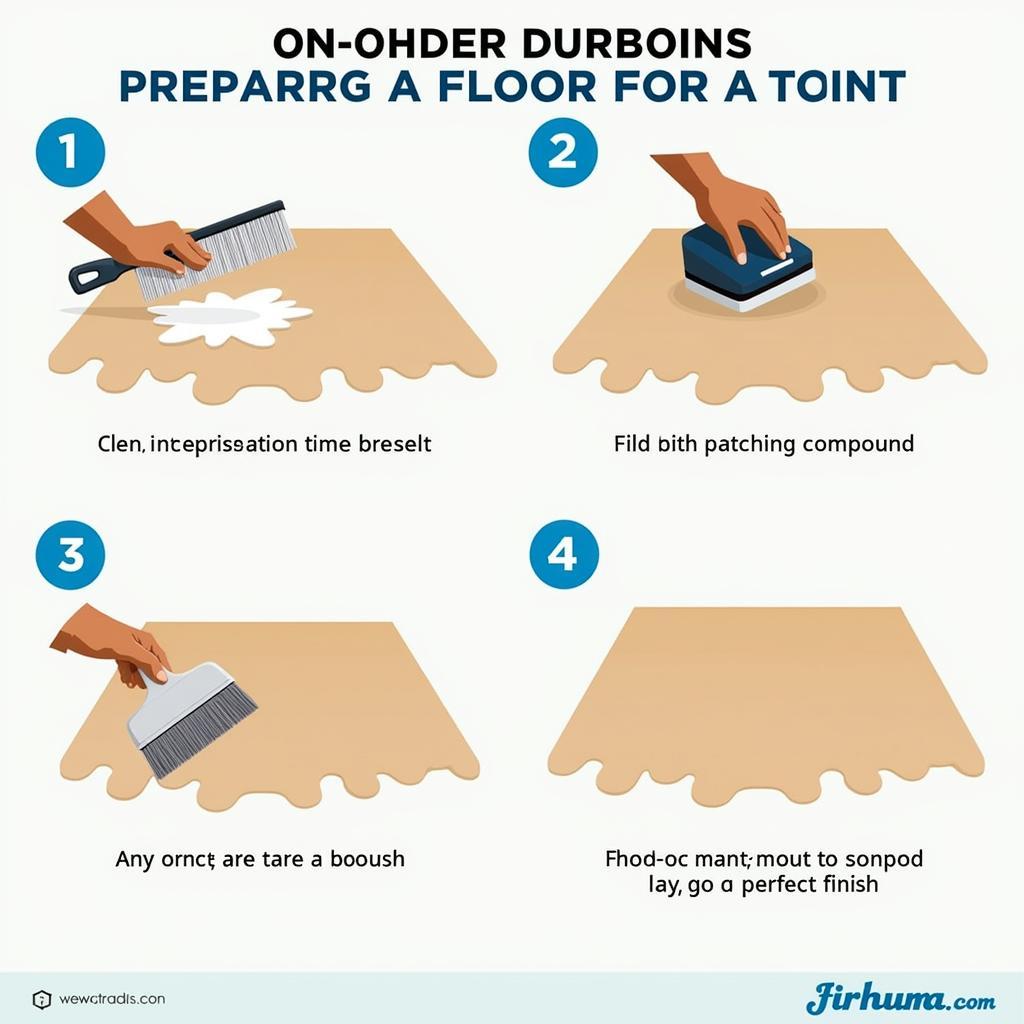
Understanding the Importance of Preparation
Before you even crack open a paint can, proper preparation is key to achieving flawless results on your rounded corners. This involves more than just throwing down a drop cloth; it’s about creating a smooth, clean canvas for your masterpiece.
- Clean the Surface: Dust, cobwebs, and grime can interfere with paint adhesion, leading to an uneven finish. Use a damp cloth or sponge to gently wipe down the walls, paying extra attention to the rounded corners where debris tends to accumulate.
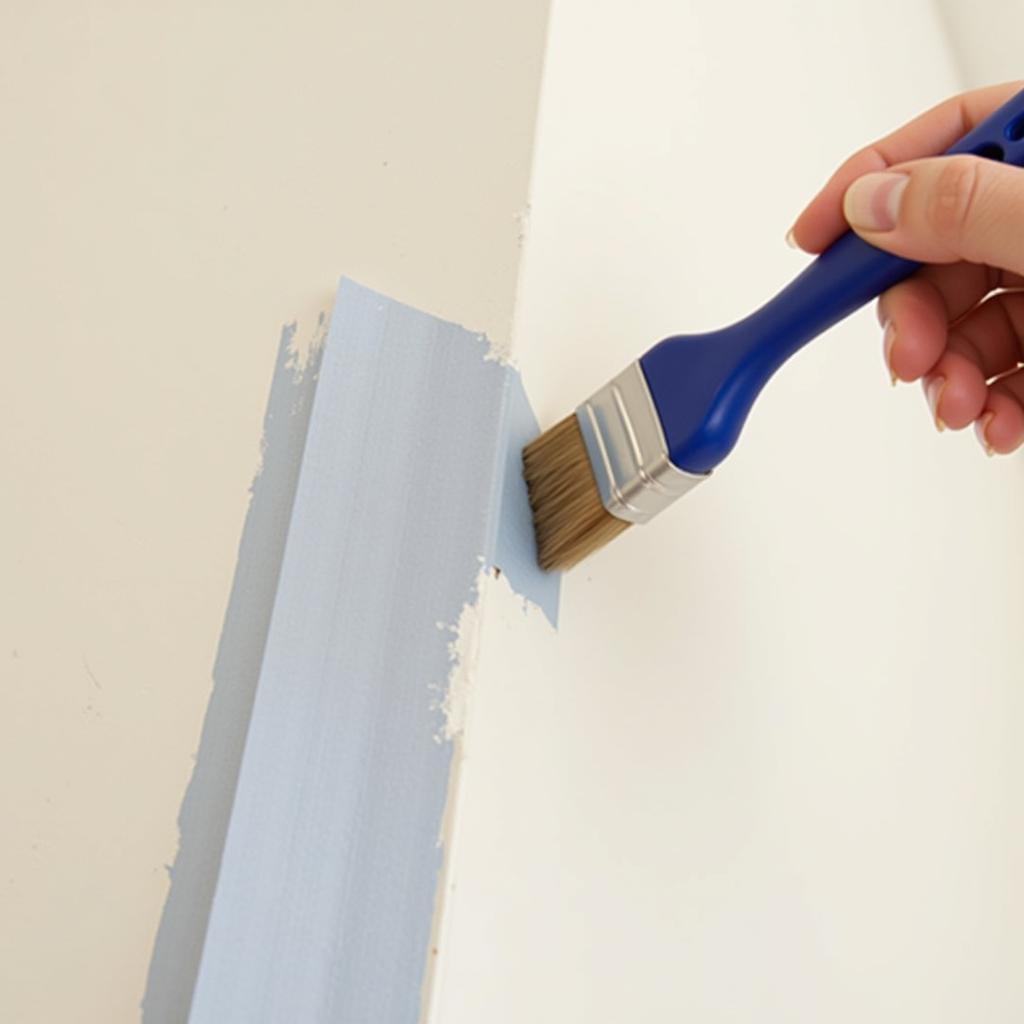
- Tape it Off: Using painter’s tape designed for curves is crucial for protecting your trim and achieving crisp lines. Apply the tape carefully, following the curve of the corner. For best results, use short, overlapping strips of tape, pressing firmly along the edges to prevent paint seepage.
- Smooth Out Imperfections: Rounded corners can sometimes have minor imperfections like cracks or nail holes. Repairing these beforehand ensures a flawless final look. Use a lightweight spackle and a putty knife to fill in any gaps or holes, allowing ample drying time before sanding smooth.
Choosing the Right Tools for the Job
Having the appropriate tools at your disposal is paramount when tackling rounded corners. While standard painting tools will suffice for the majority of the wall, the curved sections require a more specialized approach.
- Angled Paint Brush: A high-quality angled brush, about 2-3 inches wide, is your best friend when it comes to painting rounded corners. The angled bristles provide greater control and precision, allowing you to maneuver smoothly along the curves.
- Mini Roller: Invest in a mini roller specifically designed for tight spaces. These handy tools are perfect for painting the areas adjacent to the rounded corners, ensuring even coverage without sacrificing the crisp lines created by your painter’s tape.
Mastering the Painting Technique
Now that you’re prepped and equipped, let’s dive into the heart of the matter: the painting technique itself. Remember, patience and a steady hand are your allies in this endeavor.
- Cut In with Precision: Using your angled brush, carefully paint a 2-3 inch border around the rounded corner, overlapping slightly onto the painter’s tape. This “cutting in” technique establishes clean boundaries and guides your roller application.
- Employ the “Unload and Reload” Method: Dip your brush only a third of the way into the paint, then gently tap off any excess on the side of the can. This “unload and reload” approach prevents drips and ensures a smooth, even coat.
- Work in Small Sections: Don’t try to tackle the entire corner in one go. Instead, work in manageable sections, blending the paint as you go to avoid visible lap marks.
- Roll for a Seamless Finish: Once the corners are painted, use your mini roller to paint the remaining wall space adjacent to the curves. Roll in smooth, even strokes, overlapping slightly onto the already painted area for a uniform look.
 Applying Paint to a Rounded Corner
Expert Tips for a Professional Finish
Achieving a truly professional-looking paint job on rounded corners often involves employing a few insider tips and tricks.
- “Johnathan Miller, a renowned interior decorator, suggests, “For a seamless transition between the brushwork and roller application, lightly feather out the paint at the edges of the cut-in area. This blending technique minimizes any potential lines and creates a polished look.”
- Maintain a Wet Edge: Always work with a wet edge to prevent lap marks. This means starting your next stroke before the previous one dries, ensuring the paint blends seamlessly.
- Don’t Be Afraid to Apply Multiple Coats: Depending on the color and type of paint used, multiple thin coats are always better than one thick coat. Allow ample drying time between coats for optimal results.
- Remove Tape at the Right Time: Wait until the paint is almost dry but still slightly tacky before carefully peeling off the painter’s tape at a 45-degree angle. This prevents peeling and ensures a crisp, clean line.
Conclusion
Painting walls with rounded corners doesn’t have to be a daunting task. By following these tips, utilizing the right tools, and practicing a bit of patience, you can achieve professional-looking results that enhance the architectural beauty of your space. Remember, attention to detail and a steady hand go a long way in creating a flawless finish. So, gather your supplies, put on your creative cap, and get ready to transform those challenging rounded corners into stunning focal points.
Need assistance with your next painting project? Contact our team at 0902476650, email us at [email protected], or visit us at 139 Đ. Võ Văn Kiệt, Hoà Long, Bà Rịa, Bà Rịa – Vũng Tàu, Việt Nam. We’re here to help 24/7!